
I followed her recipe pretty closely, only substituting the cup of milk she called for for reconstituted powdered milk.
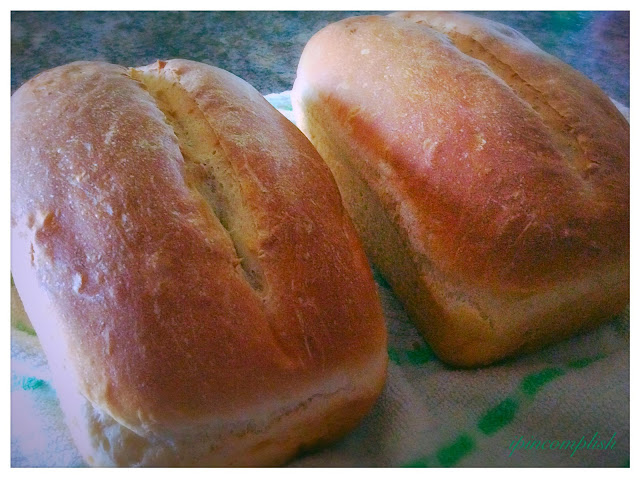
These loaves turned out delicious, and just the right firmness and consistency to use for sandwiches. In fact, we liked this bread so much that I put off going to the store a little longer and made two more loaves the next day!
Here's the recipe I used to make two loaves of this
Basic White Sandwich Bread
1 cup warm water
2 tbsp white sugar
2 tsp active-dry yeast
2 tbsp unsalted butter, melted
1 cup milk (or reconstituted powdered milk)
1 tbsp salt
5 1/2 - 6 1/2 cups all-purpose flour
The first thing I always do when making bread dough in my mixer is to warm up the metal bowl by running it under hot water. This helps to keep things warm while the yeast does it's thing.
To the warm bowl add the warm water. It should be tap water hot... not so hot that it's boiling or too hot to touch, but still pretty warm. If you want to be technical, I think the temperature that's best for yeast to proof is between 105° F and 110° F. So, pull out your thermometer if you want to check for sure.
Next, mix the sugar into the water. Sugary water seems to help the yeast work better too. Then sprinkle the yeast on top and let sit for a few minutes while it starts to dissolve and "grow".
Then add the melted butter, the milk, salt, and one cup of flour and mix well. Slowly add another 41/2 cups of the flour.
Use the dough hook attachment to knead the dough for about ten minutes, adding more flour a little at a time if necessary until the dough is a nice consistency. It should end up being smooth and springy, but not very sticky.
The original blogger recommends stopping the mixer every so often and hand kneading the dough a little (in the opposite direction). I actually found this helpful with this recipe.
Once you have that nice smooth dough, coat another large bowl with cooking spray or a little oil and drop in your ball of dough. Turn the ball of dough over so that it has a slight oil coating on all sides. Then cover the bowl (I usually use a clean dish towel) and let it rise in a warm place for about an hour, or until it has about doubled in size.
Once it has risen punch down the dough, and then divide it into two loose balls. Let them rest while you grease two loaf pans.
With a little flour sprinkled on your counter, turn out the dough and shape each ball into loaves and carefully place into your loaf pans. Cover again, and let them rise for about 30 - 40 minutes, until the dough starts to dome over the edges of the pans.
Once risen slash the tops of each loaf with a serrated knife and place them in the oven, preheated to 425° F. Immediately turn the oven down to 375°F and bake for 30 to 35 minutes. The loaves should be a dark golden brown color when done.
Take them out of the pans and let them completely cool before slicing.
This recipe turned out to be pretty simple after all... maybe I'll have to change my thinking and make our sandwich bread more often!


No comments:
Post a Comment